Gel Nail Kit: A Guide On What To Have
Creating salon-quality gel nails at home is entirely possible with the right tools and products. A comprehensive gel nail kit is essential for achieving a long-lasting, professional-looking manicure. This guide will detail everything you need to include in your gel nail kit to ensure your nails look fabulous every time.
The Essentials of a Gel Nail Kit
Every gel nail kit starts with a few essential items that form the foundation of your at-home manicure process. These basics ensure that you have all you need to start your journey into DIY gel nails.
Base Coat and Top Coat
The base coat and top coat are non-negotiable elements of any gel nail kit. The base coat prepares your nails for the gel polish by creating a smooth surface and ensuring the polish adheres properly. It also helps prevent staining from pigmented colors. The top coat seals in the color, adds shine, and protects your manicure from chipping and damage.
Gel Nail Polishes
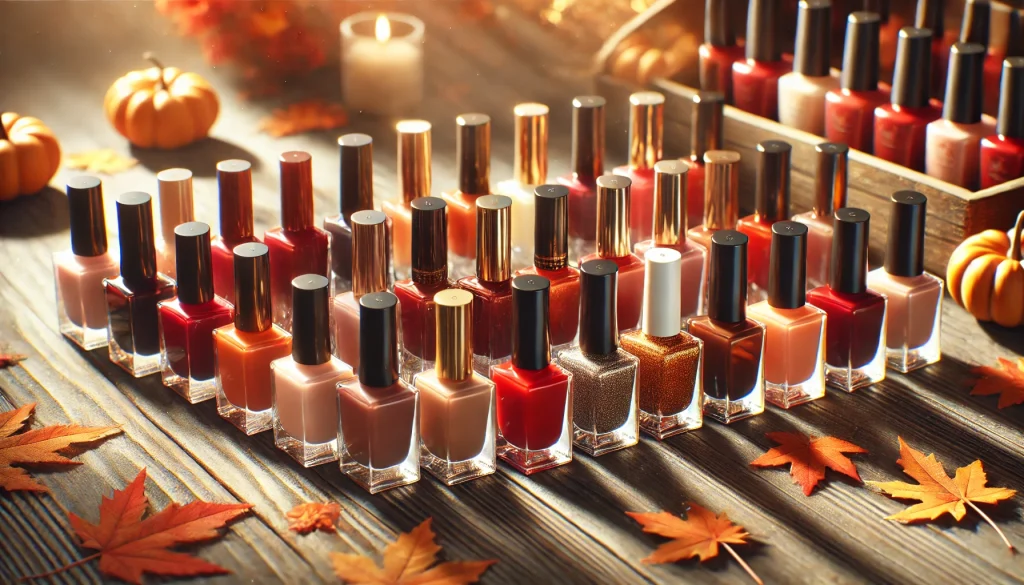
A variety of gel nail polishes is essential for versatility and creativity. Gel polishes come in a multitude of colors, so having a selection allows you to switch up your manicure to match your mood or occasion. Look for high-quality, pigmented gel polishes that provide even coverage and long-lasting wear.
LED or UV Nail Lamp
An LED or UV nail lamp is crucial for curing gel polish. The lamp hardens the gel polish, ensuring it sets properly and lasts longer. LED lamps are generally preferred over UV lamps because they cure faster and have a longer lifespan. However, ensure that your chosen gel polishes are compatible with your lamp.
Nail Prep Tools
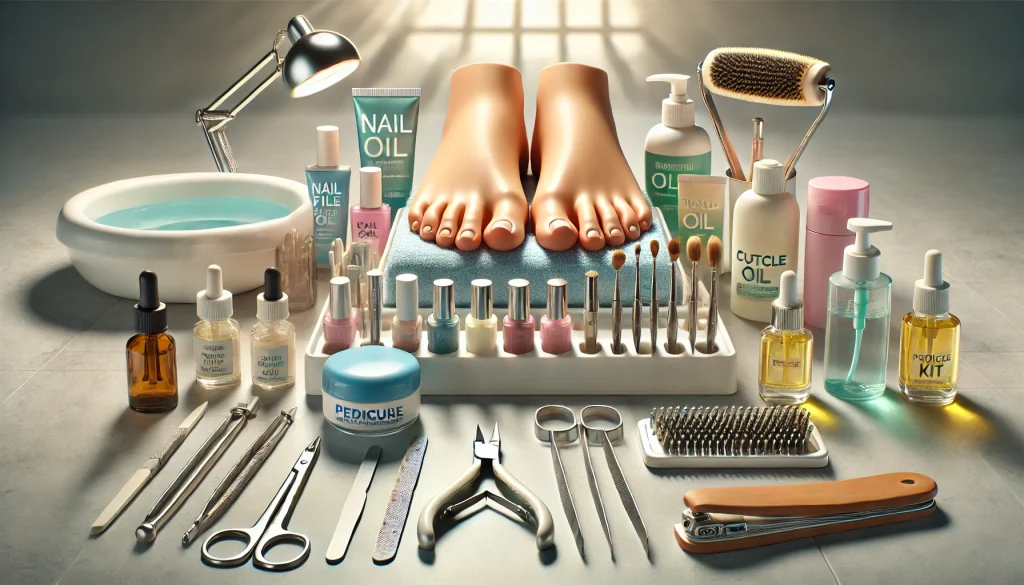
Proper nail preparation is vital for a successful gel manicure. Include the following tools in your gel nail kit to ensure your nails are ready for polish:
- Nail File: For shaping the nails.
- Buffer: To smooth the surface of the nails.
- Cuticle Pusher: To gently push back cuticles for a neat nail bed.
- Nail Clippers: For trimming nails to the desired length.
Nail Cleanser and Lint-Free Wipes
Before applying any products, it’s important to cleanse your nails to remove oils, dust, and impurities that can affect the adherence of the gel polish. A nail cleanser and lint-free wipes ensure your nails are perfectly clean. Lint-free wipes are crucial because they don’t leave any residue or fibers on your nails, which can interfere with the gel application.
Cuticle Oil
Cuticle oil is essential for maintaining the health and appearance of your cuticles and surrounding skin. Regular use of cuticle oil can prevent dryness and hangnails, keeping your manicure looking fresh. Include a nourishing cuticle oil in your gel nail kit to apply after your manicure is complete.
Nail Dehydrator and Primer
A nail dehydrator removes any excess oils and moisture from your nails, which helps the gel polish adhere better. Following up with a nail primer can further enhance the adherence and longevity of your gel manicure. Both products are important for ensuring that your gel polish lasts as long as possible without lifting or chipping.
Acetone and Foil Wraps
When it’s time to remove your gel manicure, pure acetone is necessary for breaking down the gel polish. Foil wraps are used in conjunction with acetone to effectively remove the polish without damaging your nails. Soak a cotton pad in acetone, place it on your nail, and wrap it with foil for about 10-15 minutes. This process helps the gel polish to lift off easily.
Optional Extras for Your Gel Nail Kit
While the essentials will get you started, there are some optional extras that can elevate your gel manicure experience and allow you to achieve more advanced designs and finishes.
Nail Art Tools
If you enjoy adding artistic touches to your nails, consider including nail art tools in your gel nail kit. Dotting tools, striping brushes, and sponges can help you create intricate designs and patterns. Stamping kits are also a fun way to add detailed designs to your nails effortlessly.
Nail Forms and Tips
For those who want to extend their natural nails or create more complex shapes, nail forms and tips are useful additions. Nail forms allow you to sculpt the gel into the desired shape, while nail tips provide a base for applying gel extensions. These tools can help you achieve professional-looking enhancements at home.
Builder Gel
Builder gel is a thicker gel used for creating nail extensions and adding strength to your natural nails. It can be used with nail forms to sculpt the perfect nail shape or to repair a broken nail. Including builder gel in your kit allows for more versatility and creativity in your gel manicures.
Matte Top Coat
A matte top coat can transform the look of your gel manicure by providing a modern, matte finish instead of the traditional glossy shine. It’s a simple way to switch up your manicure and experiment with different textures and styles.
Tips for a Successful Gel Manicure at Home
To ensure your gel manicure looks its best and lasts as long as possible, follow these tips:
Preparation is Key
Proper preparation is crucial for a successful gel manicure. Always start with clean, dry nails. Use a nail cleanser and lint-free wipes to remove any oils or residue. Push back your cuticles, shape your nails, and gently buff the surface to create a smooth base.
Thin Layers
Apply gel polish in thin layers to avoid bubbles and ensure even curing. It’s better to apply multiple thin coats rather than one thick coat. This method also helps the polish to cure properly under the LED lamp.
Avoid Skin Contact
Make sure the gel polish does not touch your skin or cuticles. Any gel on your skin will cure and can cause lifting and peeling of the polish. Use a thin brush or an orangewood stick to clean up the edges before curing.
Follow Curing Times
Always follow the recommended curing times for your specific gel polish and lamp. Under-curing can lead to peeling and chipping, while over-curing can make the polish brittle. Follow the manufacturer’s instructions for the best results.
Moisturize Regularly
Keep your cuticles and hands moisturized to maintain the health of your nails and prolong the life of your manicure. Use cuticle oil daily and apply hand cream regularly to keep your skin hydrated.
Regular Maintenance
Regularly check your nails for any signs of lifting or damage. If you notice any issues, address them promptly to prevent further damage. Filing down any lifted edges and applying a thin layer of top coat can help extend the life of your manicure.
Conclusion: Gel Nail Kit
Building a comprehensive gel nail kit is the first step to achieving beautiful, long-lasting gel manicures at home. By including essential items like base and top coats, gel polishes, an LED lamp, and proper nail prep tools, you can ensure a professional finish. Adding optional extras such as nail art tools and builder gel can enhance your creativity and allow for more advanced designs. With the right products and techniques, you can enjoy salon-quality nails from the comfort of your own home.